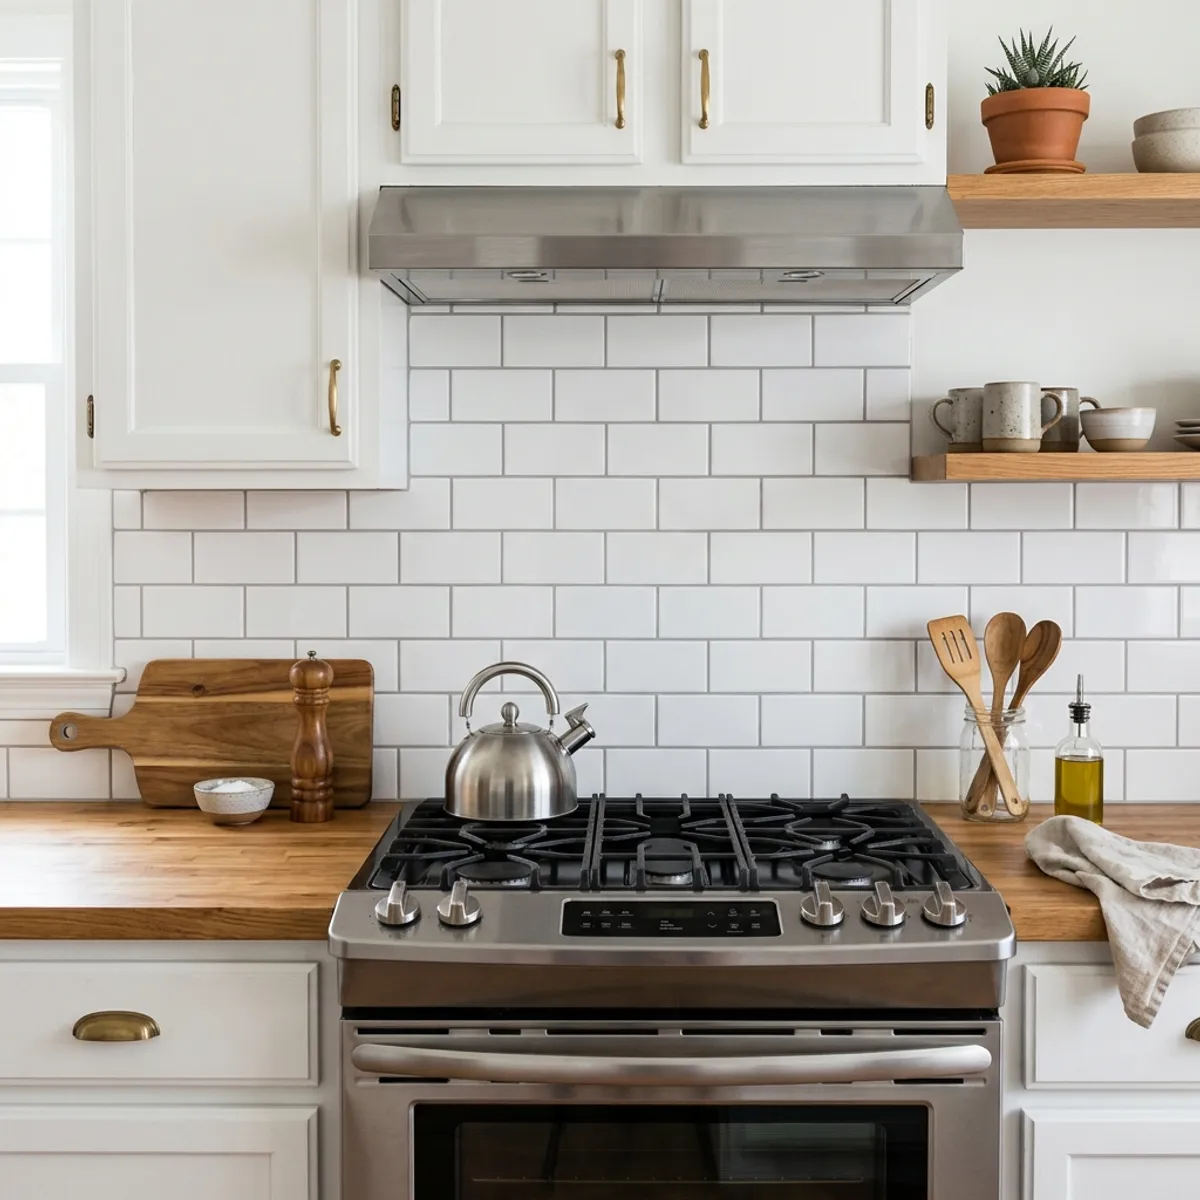
Tiling a kitchen backsplash is one of the highest-impact weekend DIY projects you can tackle. Not only does it instantly protect your drywall from splashes and grease, but it also elevates the entire look of your kitchen without requiring a full remodel.
In this guide, we’ll walk through installing traditional subway tile using premixed thinset mortar, spacers, and unsanded grout.
Project At A Glance
- Skill Level: Beginner to Intermediate
- Total Time: 8–12 hours across 2 days
- Estimated Cost: $120–$250 (depending on square footage and tile choice)
Tools and Materials Needed
Before starting, gather the following essentials:
- White 3x6-inch ceramic subway tiles
- Premixed mastic or thinset mortar
- 1/4” x 3/16” V-notch trowel
- 1/8-inch tile spacers
- Manual tile cutter or wet tile saw
- Premixed unsanded grout and rubber grout float
- Sponge, bucket, and microfiber towels
- Painter’s tape and drop cloths
Step 1: Prep the Surface
Start by shutting off power to electrical outlets along the wall at the circuit breaker. Remove all cover plates. Thoroughly clean the drywall using warm water and a grease-cutting detergent like TSP substitute. Allow the wall to dry completely.
Tip: Tape off your countertops with heavy paper or drop cloths to prevent stray mortar from scratching your granite or butcher block surfaces.
Step 2: Establish a Level Baseline
Countertops aren’t always perfectly level. Find the lowest spot on your countertop line using a 4-foot spirit level. Measure up from that point by one full tile height minus 1/8 inch for the expansion gap. Draw a level reference line along the wall.
Step 3: Spread Thinset and Lay Tiles
Using the flat side of your trowel, press thinset firmly onto a 2-foot section of the wall. Comb through the mortar with the notched side at a 45-degree angle to create uniform ridges.
- Press the first tile firmly into place along your baseline with a slight twisting motion.
- Insert 1/8-inch spacers at all corners.
- Continue working outward in a staggered running bond pattern.
- Wipe away any wet mortar on tile faces immediately with a damp sponge.
Step 4: Grout and Polish
Allow the thinset to cure for at least 24 hours. Remove all spacers. Spread grout diagonally across tile joints using a rubber grout float held at a 45-degree angle.
After 15–20 minutes when grout is firm to the touch, wipe down tiles with a damp sponge using smooth circular motions. Once dry, buff away residual grout haze with a dry microfiber cloth.