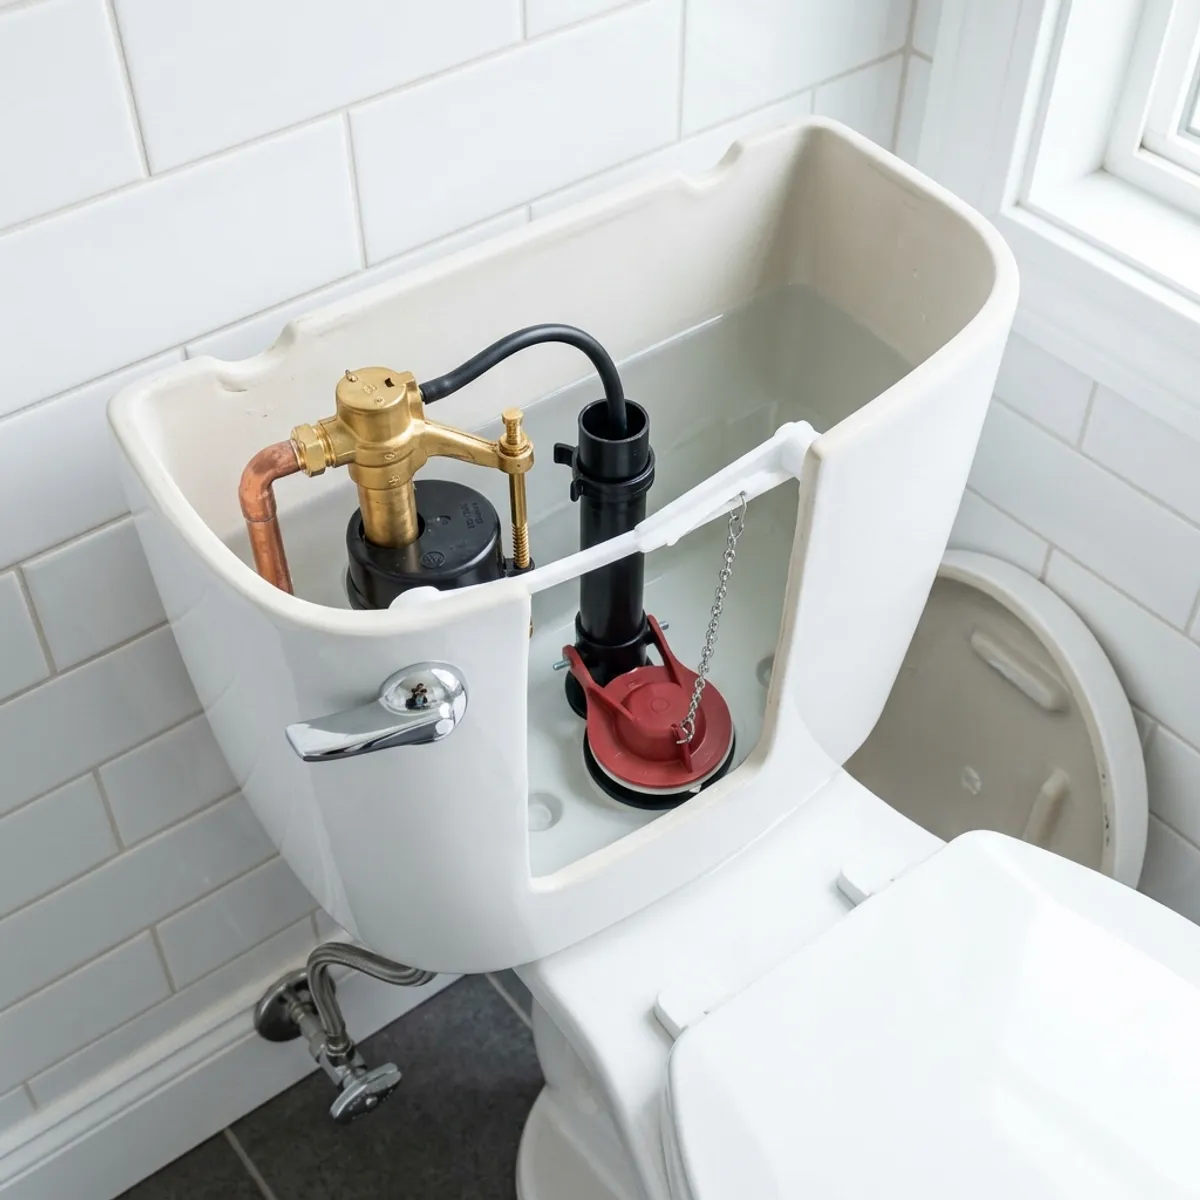
A constantly running toilet is one of the most annoying household issues, and it can waste up to 200 gallons of water a day. The good news is that 90% of running toilet problems stem from two inexpensive parts inside the tank: a worn rubber flapper or a faulty fill valve.
In this quick tutorial, you’ll learn how to diagnose the root cause and replace the offending component without calling an expensive plumber.
Quick Diagnosis Checklist
Remove the toilet tank lid and observe the water level:
- Water overflowing into the overflow tube: The fill valve float is set too high or the valve itself is failing.
- Water trickling continuously into the bowl: The rubber flapper at the tank bottom isn’t sealing tightly.
Tools and Parts Needed
- Universal toilet flapper ($5–$10)
- Universal toilet fill valve kit ($12–$20)
- Adjustable wrench and slip-joint pliers
- Sponge and small bucket
Replacing a Faulty Rubber Flapper
If the flapper is cracked, stiff, or covered in mineral buildup, water will continuously seep into the bowl.
- Turn off water: Shut off the water supply valve located on the wall behind the toilet.
- Flush the tank: Hold down the handle to drain almost all water from the tank. Sponge out remaining residue.
- Unclip old flapper: Unhook the chain from the flush lever arm and slide the rubber ears off the overflow tube pegs.
- Install new flapper: Snap the new flapper onto the pegs and attach the chain with 1/2 inch of slack.
- Test: Turn water back on, let the tank fill, and check for leaks.
Tip: Do not use clip-on bleach tablets inside the tank. Chemical cleaners degrade rubber flappers and fill valve seals 3x faster than normal tap water.
Replacing the Tank Fill Valve
If adjusting the float height knob doesn’t stop water from trickling down the overflow pipe, replace the entire fill valve assembly.
- Disconnect the water supply line beneath the tank using an adjustable wrench.
- Unscrew the plastic locknut securing the old fill valve shank beneath the tank base.
- Lift out the old valve assembly and press the new valve into place with its thick rubber washer firmly seated inside the tank.
- Hand-tighten the locknut underneath, reconnect the supply line, and adjust the float height so water stops 1 inch below the overflow tube top.